Stump Removal
As some of you know, I am clearing some woodland in order to grow a garden and build a greenhouse. The garden will be raised beds due to our soil and slope of the ground. You can hear more details by listening to Podcast #24 where Craig and I talk about getting started and the work to clear the woods.
But that is not the topic of this blog. As I have cleared trees, mountain laurel, briars, and so on, I have had to carry and drag these items uphill to my truck. This distance has grown to the point that my work has become inefficient. What I need is to get my truck into the woods and closer to the debris but couldn't do to a few stumps in the way. Stump grinders in my area range from $200 and $250 per 1/2 day depending on the grinder size. This is for four hours to start once I leave their parking lot. Since the location is a one-hour drive that would only leave me with two hours of work time. A full day rental might be an option once I begin to pull/grind all the sumps but I really just needed two stumps removed for now.
If you are interested in Fort Worth tree removal in the Fort Worth, Texas area check out Fort Worth Tree Service Removal
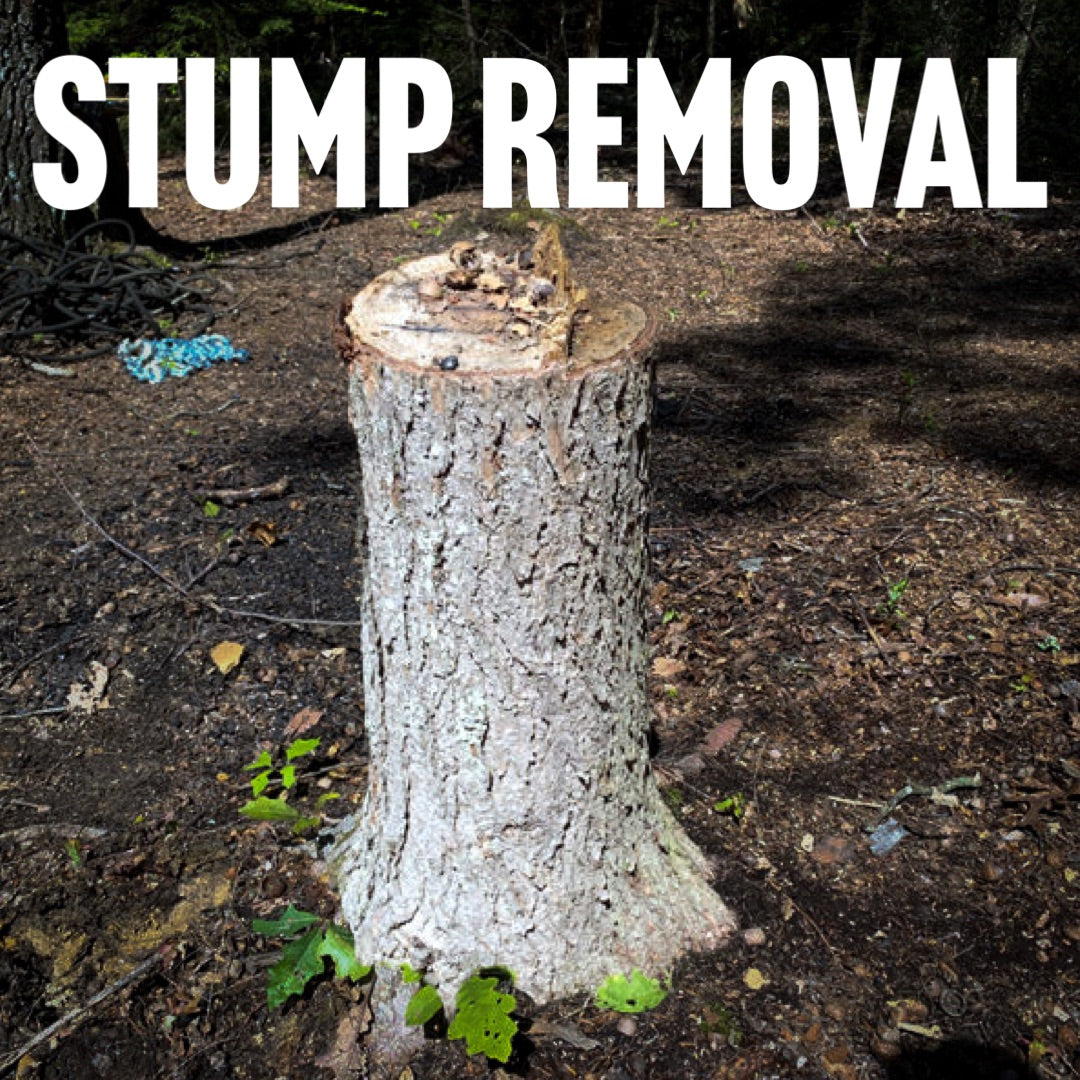
The first stump in question, displayed in the cover photo, is an Eastern Hemlock about seven inches in diameter. I have another lesser Hemlock stump as well. I thought I would document with photos my process of removing the stump.
The first stump was also being used as a dinner table for some squirrels.

My first step was to set up a pulling system including an old rappelling rope, come-along, and chain.
The system was set up using some basic knots. One of the most used bits of information that Craig has ever helped me with was introducing me to knots. This was well before joining the search and rescue team and rappelling. I use a variety of quality knots in my daily life. The top photo shows a simple bowline loop around my anchor tree used for the pull. The bottom is an in-line eight to attach the come-along.

A chain was attached to the stump which allowed for a good "grab" of the stump to pull.
The tools I used were shovels, mattock, chainsaw, loppers, and a small garden trowel. I honestly used the garden trowel more than the others. This is a handy tool to reach under the roots and stump to clear the dirt and rocks.

I began by digging out any roots that were close to the ground. I utilized the mattock to clear the topsoil and to dig down beside the root. Then the garden trowel was used to clear under the root and remove any rocks.
I then took my Husqvarna chainsaw and cut the bigger roots. I cut a "chunk" out of the roots to allow the stump to move. If you only cut through the root, the stump can lodge against itself.
I worked my way around the tree and continually applied more pulling pressure. Roots can be hidden so you will probably have to dig under existing roots and possibly under the stump.
But, once the stump moves just a bit you are on your way to success. Just the slightest movement can allow you to see where other roots are located in the soil that is still holding. I was amazed at the holding power of just a 1/4 inch diameter root.
Stump and the small root ball removed.
The surrounding dirt has been pulled back into the hole. This will settle and more dirt will be brought in. But......the first stump is gone, on to the second stump.
The total time to remove both stumps was nearing 3.5 hours. That included a refueling and chain sharpening and a small amount of time to look for the garden trowel. Mission accomplished and I saved $200 in the process.


Leave a comment